Un guide étape par étape pour la préparation des repas (avec menu !)
Il n’est pas surprenant que je pense que la préparation des repas est sans conteste le meilleur moyen de rendre une alimentation saine facile, rapide et agréable.
Lorsque vous planifiez vos repas :
Si vous débutez en cuisine ou en préparation de repas, mais que vous souhaitez reprendre une routine après l'été, je vous propose ci-dessous un guide étape par étape. Pour ceux qui planifient déjà leurs repas, pas d'inquiétude ! J'ai inclus des recettes et un exemple de plan de repas dans les instructions ci-dessous.
La première étape pour préparer ses repas est de décider ce que l'on veut manger pour la semaine. Pour éviter d'aller faire les courses en milieu de semaine, je recommande de choisir au moins :
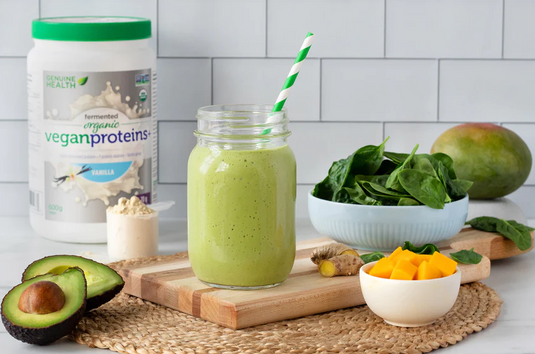
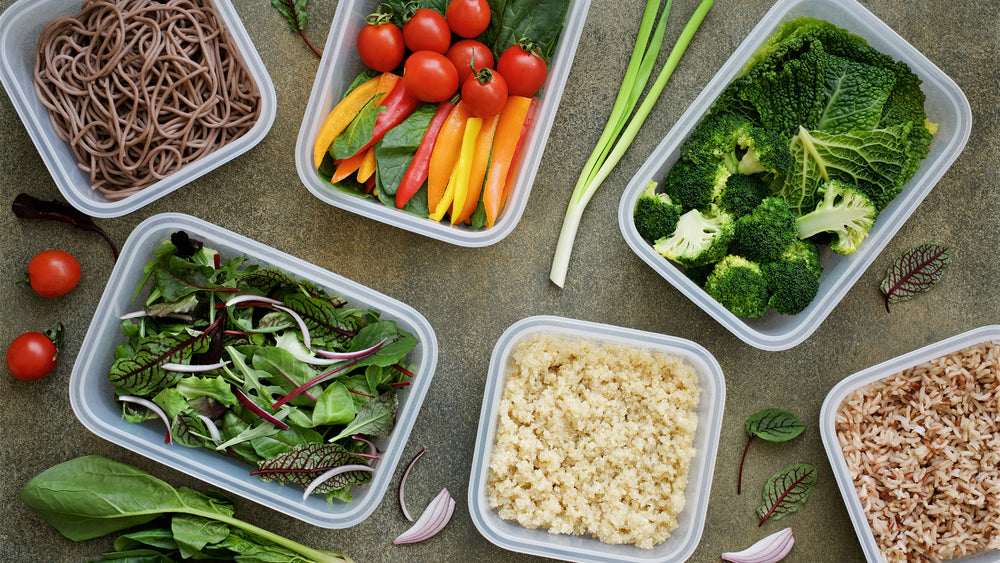
De cette façon, vous pouvez varier les plaisirs sans avoir à cuisiner quelque chose de nouveau chaque jour. De plus, il peut être utile de réfléchir à quelques aliments que vous pouvez cuisiner ou préparer en début de semaine et que vous pouvez utiliser pour compléter vos repas lorsque les réserves commencent à diminuer. Par exemple, une ou deux céréales comme le riz complet ou le quinoa se conservent au réfrigérateur toute la semaine. Un mesclun ou un légume nourrissant comme le chou frisé peuvent être ajoutés à une salade. J'aime aussi acheter de temps en temps des soupes surgelées pour en avoir sous la main lorsque mes réserves commencent à diminuer. Les collations peuvent être aussi simples que des fruits, des noix mélangées et des protéines végétaliennes fermentées Genuine Health +. barres .
Par exemple, votre menu pourrait ressembler à ceci :
1. Petits déjeuners :
2. Plats principaux :
3. Collations :
Si vous débutez dans la préparation des repas, si vous cuisinez juste pour une personne ou si vous ne souhaitez tout simplement pas planifier tous vos repas, je vous recommande de suivre ce format :
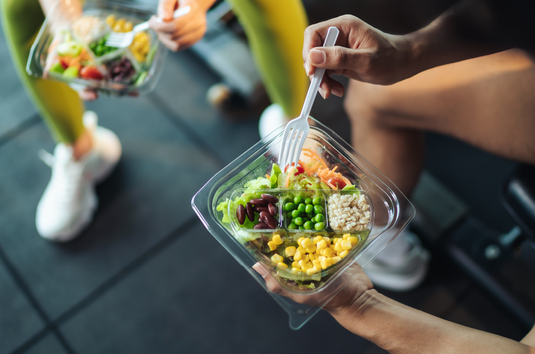
En y réfléchissant de cette façon, vous pouvez mélanger et assortir les protéines et les légumes, et soit rendre un repas plus copieux en l'associant à un féculent, soit préparer une salade en servant votre repas sur un lit de légumes verts.
Une fois que vous avez décidé de ce que vous prévoyez de préparer pour la semaine, notez tous les articles sur une liste de courses. Dans le programme de planification des repas de HEAL , les articles sont classés par rayon pour vous faire gagner du temps. Si j'ai le temps, j'aime faire les courses le samedi et préparer les repas le dimanche. Comme ça, c'est moins intimidant de tout faire en une seule fois et le dimanche, je peux me lever et tout faire. Pensez à comparer avec ce que vous avez dans le réfrigérateur. Si votre liste vous semble un peu longue, réfléchissez aux aliments que vous pouvez remplacer dans vos recettes afin d'utiliser ce que vous avez déjà dans vos placards.
Établissez un plan général pour ce qui peut être cuisiné à l'avance, ce qui doit être simplement préparé ou mariné, par exemple, et le temps de préparation de chaque plat. Les plats que vous pouvez préparer à l'avance sont ceux qui se conservent au réfrigérateur pendant au moins quelques jours. Je prépare généralement la plupart de mes repas le dimanche, mais je fais une petite préparation en milieu de semaine pour tenir jusqu'au reste de la semaine. Par exemple, vous pouvez préparer la sauce tomate à la viande le dimanche et la congeler jusqu'en milieu de semaine. Il ne vous restera plus qu'à préparer la courge spaghetti le soir même.
Lorsque vous planifiez l'ordre de préparation de vos plats, il est préférable de commencer par les plats les plus longs à cuire et/ou les moins exigeants. Par exemple, commencez par tout ce qui se trouve dans la mijoteuse ou dans une casserole sur le feu. Il en va de même pour tout ce que vous enfournez, que ce soit pour cuire ou rôtir, et qui ne demande pas beaucoup d'attention. Si certains aliments peuvent être cuits à la même température, prévoyez de les préparer au four en même temps. Gardez pour la fin tout ce qui ne nécessite pas de cuisson ou qui doit simplement être assemblé.
Ce qui peut vous aider à rester organisé, c'est de faire tout le travail de préparation comme le nettoyage et le hachage à l'avance, de sorte que la partie cuisine consiste essentiellement à assembler vos articles.
Mettez votre podcast ou votre playlist préférée et commencez à vous préparer !
En utilisant le plan de menu que j'ai listé ci-dessus, voici l'ordre dans lequel tout pourrait être préparé :
Je sais que vous n'avez pas toujours le temps de préparer vos repas chaque semaine. Plus vous prendrez l'habitude de définir ce que vous souhaitez manger, de faire vos courses avec une liste et de préparer vos repas à l'avance, plus il vous sera facile de faire des choix sains tout au long de la semaine. Avec le temps, votre vision de la nourriture évoluera et vous penserez constamment à la façon de préparer plusieurs repas en 30 minutes de cuisine.
Lorsque vous planifiez vos repas :
- Vous avez déjà de la nourriture préparée dans le réfrigérateur lorsque vous avez faim, ce qui signifie que vous êtes BEAUCOUP moins susceptible d'avoir ou de céder à des envies.
- Vous avez plus de temps pour faire de l’exercice.
- Vous êtes plus susceptible de faire des choix sains, vous avez donc l’esprit plus clair et pouvez vous concentrer sur ce que vous voulez faire.
- Vous avez de l’énergie le matin parce que vous mangez les bons aliments au petit-déjeuner (et que vous avez bien dormi la nuit précédente).
- Vous économisez de l'argent en évitant de succomber aux plats à emporter lorsque vous rentrez du travail et que vous n'avez pas envie de cuisiner.
- Enfin, et ce n’est pas le moins important, si vous avez du poids à perdre, la planification des repas est à 100 % la meilleure façon d’y parvenir.
Si vous débutez en cuisine ou en préparation de repas, mais que vous souhaitez reprendre une routine après l'été, je vous propose ci-dessous un guide étape par étape. Pour ceux qui planifient déjà leurs repas, pas d'inquiétude ! J'ai inclus des recettes et un exemple de plan de repas dans les instructions ci-dessous.
Un guide étape par étape pour la préparation des repas
Étape 1 : Planifiez ce que vous aimeriez manger pour la semaine
La première étape pour préparer ses repas est de décider ce que l'on veut manger pour la semaine. Pour éviter d'aller faire les courses en milieu de semaine, je recommande de choisir au moins :
- 2 petits déjeuners
- 3-4 plats principaux
- 2 collations
De cette façon, vous pouvez varier les plaisirs sans avoir à cuisiner quelque chose de nouveau chaque jour. De plus, il peut être utile de réfléchir à quelques aliments que vous pouvez cuisiner ou préparer en début de semaine et que vous pouvez utiliser pour compléter vos repas lorsque les réserves commencent à diminuer. Par exemple, une ou deux céréales comme le riz complet ou le quinoa se conservent au réfrigérateur toute la semaine. Un mesclun ou un légume nourrissant comme le chou frisé peuvent être ajoutés à une salade. J'aime aussi acheter de temps en temps des soupes surgelées pour en avoir sous la main lorsque mes réserves commencent à diminuer. Les collations peuvent être aussi simples que des fruits, des noix mélangées et des protéines végétaliennes fermentées Genuine Health +. barres .
Par exemple, votre menu pourrait ressembler à ceci :
1. Petits déjeuners :
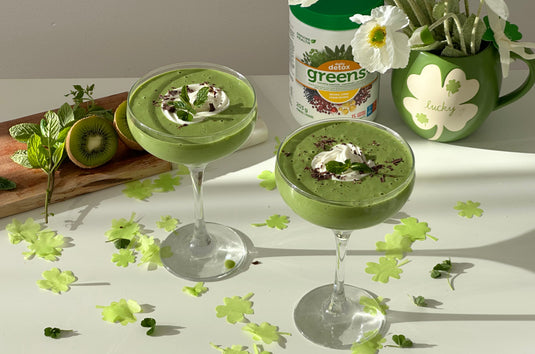
- Smoothie vert chocolat-banane
- Muffins aux œufs (je les mangerai avec de l'avocat)
2. Plats principaux :
- Salade de poulet saine du sud-ouest
- Saumon et légumes à la poêle
- Burgers aux haricots noirs sans gluten et salade d'accompagnement
- Courge spaghetti et sauce à la viande
3. Collations :
Si vous débutez dans la préparation des repas, si vous cuisinez juste pour une personne ou si vous ne souhaitez tout simplement pas planifier tous vos repas, je vous recommande de suivre ce format :
- 2 petits déjeuners
- 2-3 protéines différentes (peuvent également être des protéines végétales)
- 3-4 légumes différents à rôtir
- 1 à 2 féculents comme du riz brun ou des patates douces
- Un mélange de légumes verts à feuilles
- 2 collations différentes
En y réfléchissant de cette façon, vous pouvez mélanger et assortir les protéines et les légumes, et soit rendre un repas plus copieux en l'associant à un féculent, soit préparer une salade en servant votre repas sur un lit de légumes verts.
Étape 2 : Faites vos courses avec une liste de courses
Une fois que vous avez décidé de ce que vous prévoyez de préparer pour la semaine, notez tous les articles sur une liste de courses. Dans le programme de planification des repas de HEAL , les articles sont classés par rayon pour vous faire gagner du temps. Si j'ai le temps, j'aime faire les courses le samedi et préparer les repas le dimanche. Comme ça, c'est moins intimidant de tout faire en une seule fois et le dimanche, je peux me lever et tout faire. Pensez à comparer avec ce que vous avez dans le réfrigérateur. Si votre liste vous semble un peu longue, réfléchissez aux aliments que vous pouvez remplacer dans vos recettes afin d'utiliser ce que vous avez déjà dans vos placards.
Étape 3 : Élaborez un plan
Établissez un plan général pour ce qui peut être cuisiné à l'avance, ce qui doit être simplement préparé ou mariné, par exemple, et le temps de préparation de chaque plat. Les plats que vous pouvez préparer à l'avance sont ceux qui se conservent au réfrigérateur pendant au moins quelques jours. Je prépare généralement la plupart de mes repas le dimanche, mais je fais une petite préparation en milieu de semaine pour tenir jusqu'au reste de la semaine. Par exemple, vous pouvez préparer la sauce tomate à la viande le dimanche et la congeler jusqu'en milieu de semaine. Il ne vous restera plus qu'à préparer la courge spaghetti le soir même.
Lorsque vous planifiez l'ordre de préparation de vos plats, il est préférable de commencer par les plats les plus longs à cuire et/ou les moins exigeants. Par exemple, commencez par tout ce qui se trouve dans la mijoteuse ou dans une casserole sur le feu. Il en va de même pour tout ce que vous enfournez, que ce soit pour cuire ou rôtir, et qui ne demande pas beaucoup d'attention. Si certains aliments peuvent être cuits à la même température, prévoyez de les préparer au four en même temps. Gardez pour la fin tout ce qui ne nécessite pas de cuisson ou qui doit simplement être assemblé.
Ce qui peut vous aider à rester organisé, c'est de faire tout le travail de préparation comme le nettoyage et le hachage à l'avance, de sorte que la partie cuisine consiste essentiellement à assembler vos articles.
Étape 4 : Préparez vos repas
Mettez votre podcast ou votre playlist préférée et commencez à vous préparer !
En utilisant le plan de menu que j'ai listé ci-dessus, voici l'ordre dans lequel tout pourrait être préparé :
- Si vous prévoyez de le manger avant mercredi, commencez par cuire la courge spaghetti au four, car c'est la cuisson la plus longue et nécessite une température élevée. Sinon, faites-la cuire le soir même.
- Pendant la cuisson, commencez à préparer tous les aliments qui peuvent aller au four en même temps, à savoir les burgers aux haricots noirs (qui peuvent être congelés), les muffins aux œufs et le poulet pour la salade. Commencez par faire bouillir les patates douces pendant que vous préparez le reste. Réservez-les pour quand le four sera libre. Pensez à programmer une alarme pour savoir quand les sortir du four.
- Ensuite, préparez la sauce tomate et viande sur la cuisinière. Une fois prête, conservez-la dans son récipient au réfrigérateur ou congelez-la pour plus tard dans la semaine.
- Si vous préférez déguster le saumon frais, mettez tous les légumes dans un seul récipient pour qu'il soit prêt à être dégusté. Le soir même, il vous suffira de suivre les instructions de cuisson.
- Ensuite, préparez la vinaigrette pour la salade de poulet du Sud-Ouest.
- Préparez la salade du sud-ouest et conservez-la au réfrigérateur. Les salades en bocaux sont idéales pour éviter qu'elle ne ramollisse.
- Assemblez, mais ne préparez pas, votre salade d'accompagnement pour qu'elle soit prête à être servie pendant la semaine ou lavez simplement les légumes pour n'avoir plus qu'à la préparer.
- Enfin, préparez les bouchées de beurre d’amandes dans votre robot culinaire.
- Pour aller plus loin, vous pouvez répartir tous les ingrédients secs de votre smoothie dans des récipients individuels au congélateur. Le matin, il vous suffira de les ajouter au blender avec le liquide de votre choix.
Étape 5 : Profitez de repas sains et faits maison toute la semaine !
Je sais que vous n'avez pas toujours le temps de préparer vos repas chaque semaine. Plus vous prendrez l'habitude de définir ce que vous souhaitez manger, de faire vos courses avec une liste et de préparer vos repas à l'avance, plus il vous sera facile de faire des choix sains tout au long de la semaine. Avec le temps, votre vision de la nourriture évoluera et vous penserez constamment à la façon de préparer plusieurs repas en 30 minutes de cuisine.
